Getting started
This guide walks through the complete path to your first course on Cursiva: creating the organization, creating the course, writing it in the editor, reviewing the price and access, checking it as a learner, publishing, and sharing. Each step is short enough that you can validate the entire platform in a single session.
On Cursiva, the central unit is the content, and it comes in two kinds: a course — the sellable, enrollable unit with a public page — and a material — pure substance, read only inside the courses that reference it. A course can be a standalone lesson or a larger experience composed of referenced materials. Everything else — publishing, access, enrollment, payment, and tracking — revolves around it.
Flow overview
The path to your first course has seven steps. Each one is reversible: nothing is visible to the learner until you publish.
| Step | Action | Where it happens |
|---|---|---|
| 1 | Prepare the organization | Settings |
| 2 | Create the course (title first) | Content in the dashboard |
| 3 | Write in the editor | Content tab of the editor |
| 4 | Review price, access, and catalog | The editor's Enrollment / Pricing / Offers tab |
| 5 | Review as a learner | Learner preview in the editor |
| 6 | Publish | Publish button in the editor |
| 7 | Share | Public link, catalog, and embed |
Before you begin
A course always belongs to an organization, and you must be a member of it to create and edit. Confirm the organization's name, its visual identity, and who is involved in the operation. These details can be adjusted later in Settings, without blocking course creation.
If your organization works with teams, decide early whether the course will be personal (belonging to the creator) or a team's. Creating a course inside a team's portfolio requires you to be part of it — or to be an owner/admin of the organization.
Step 1 — Prepare the organization
Review the organization's identity before exposing any course to the public: name, logo, and the public slug, which forms the canonical URL of your offerings. Nothing here blocks course creation, but the organization's name appears as the publisher on public pages and in the catalog.
Step 2 — Create the course
- Go to Content in the dashboard and choose New → New course.
- Type the title — the handle (the URL identifier) is derived from it automatically, and you can edit it before confirming.
- Optionally set a price right there, or leave it free for now.
- Choose the owner: personal or a team.
That single act creates the course and its default "Standard" offer — free and unlisted unless you set a price. There is no separate "make it sellable" step: a course is born whole, as an empty draft ready for writing. (The other door, New material, asks only for a title — plus the owner, when the organization has teams — and creates a page-less, offer-less piece meant to be referenced inside courses.)
The handle is validated at creation and must be unique within the organization. The rules:
| Handle rule | Detail |
|---|---|
| Characters | lowercase letters, numbers, and hyphens only (a-z, 0-9, -) |
| Length | from 1 to 120 characters |
| Uniqueness | cannot repeat another handle in the same organization |
The course's internal identifier (the id) is the stable identity across the entire platform — enrollments, purchases, reviews, quiz history, and references point to it. That's why the handle can be renamed later without breaking these links; only the old public links stop resolving.
Step 3 — Write in the editor
Open the Content tab of the editor and write the first section. The editor combines free writing with structured blocks: paragraphs, headings, lists, quotes, code, and tables form the narrative; blocks come in when you need media, navigation, or interaction.
- Use headings to split the reading into understandable steps — they also define the sections that anchor the learner's progress.
- Type
/to open the block menu and insert media, activities, or references. - Write clear names from the start: they appear in the dashboard, in the catalog, and in the learner experience.
The draft is saved as you work. For the step-by-step of writing, see Editor and blocks; for the full block library, see Blocks.
Step 4 — Review price, access, and catalog
Your course already has its offer — the "Standard" one it was born with. The editor's Enrollment tab — labelled Pricing once the course has a price, and Offers once it has a second offer — is where you shape it: set or adjust the price, installments, seats, and approval. All the fields below have their own validation:
| Field | What it does | Rules and limits |
|---|---|---|
| Price | Sale value of the course | In cents of the currency (smallest unit); 0 or empty = free; positive prices start at R$10.00; maximum of $1,000,000.00 |
| Currency | Currency code of the offer | 3-letter ISO code (e.g., BRL, USD) |
| Installments | Monthly installment charges on the card | From 2 to 12 installments; empty = one-time payment only |
| Seat limit | Maximum enrolled learners | Whole number; empty = unlimited |
| Listed | Whether a priced course appears in the public catalog | The toggle appears only once a price is set; free courses are always unlisted (link only). Catalog = published, priced and listed |
| Tags | Discovery and filter labels | Free text — type anything and it sticks. Names are lowercased and deduplicated; up to 12 per course, up to 32 characters each. The editor suggests tags your other contents already use. Set under Setup → Discovery, not on the Enrollment/Pricing tab |
| Theme | Accent color trio for the components | One of the available content themes. Set under Setup → Basics, not on the Enrollment/Pricing tab |
| Approval | Free enrollment becomes a request | Turns the approval queue on/off |
| Discussion | Conversation per offer cohort | For self_paced, the standard flow creates an open "General" cohort |
For additional offers, campaigns, seats, and the buyer checkout, see Pricing & checkout. For the access models and progressive release, see Publishing and access.
Who can edit what
Editing is divided by role domains. Organization owners and admins have access to everything; delegates only see their own domain.
| Action | Required right |
|---|---|
| Edit and publish the course, handle, tags, theme, seats, approval, intake, turn cohort on/off | content domain |
| Price, currency, and installments | finance domain |
| List or unlist in the catalog | content or finance domain |
| Manage cohorts and cohorts | cohort domain |
| Transfer ownership and delete the course | Owner (or organization owner/admin) |
Step 5 — Review as a learner
Turn on Learner preview in the editor. The preview removes the authoring controls and reproduces the reading, navigation, and activities exactly as the learner will see them. Cards appear only when they are part of the interaction — quiz, flashcard, reference, or media — and the rest follows the page's normal flow.
Check especially:
- the pacing between headings, text, and interactive blocks;
- the legibility of images, video, and tables;
- the options and feedback of the activities;
- the references to other modules;
- the behavior at a smaller screen width.
Step 6 — Publish
When the course is ready, publish the current version. Publishing:
- copies the draft to the published version — what the learner now reads;
- records the publication date;
- recomputes the sections (to anchor progress) and the references between modules.
Publishing happens in place: there is no separate version row. The learner simply receives the latest content, and progress survives because it is indexed by stable section identifiers. For references, Cursiva keeps only the links to published contents from the same organization — targets from another organization, not yet published, deleted, or that would form a cycle remain inert. Referenced materials must be published too, or their cards render inert.
Step 7 — Share
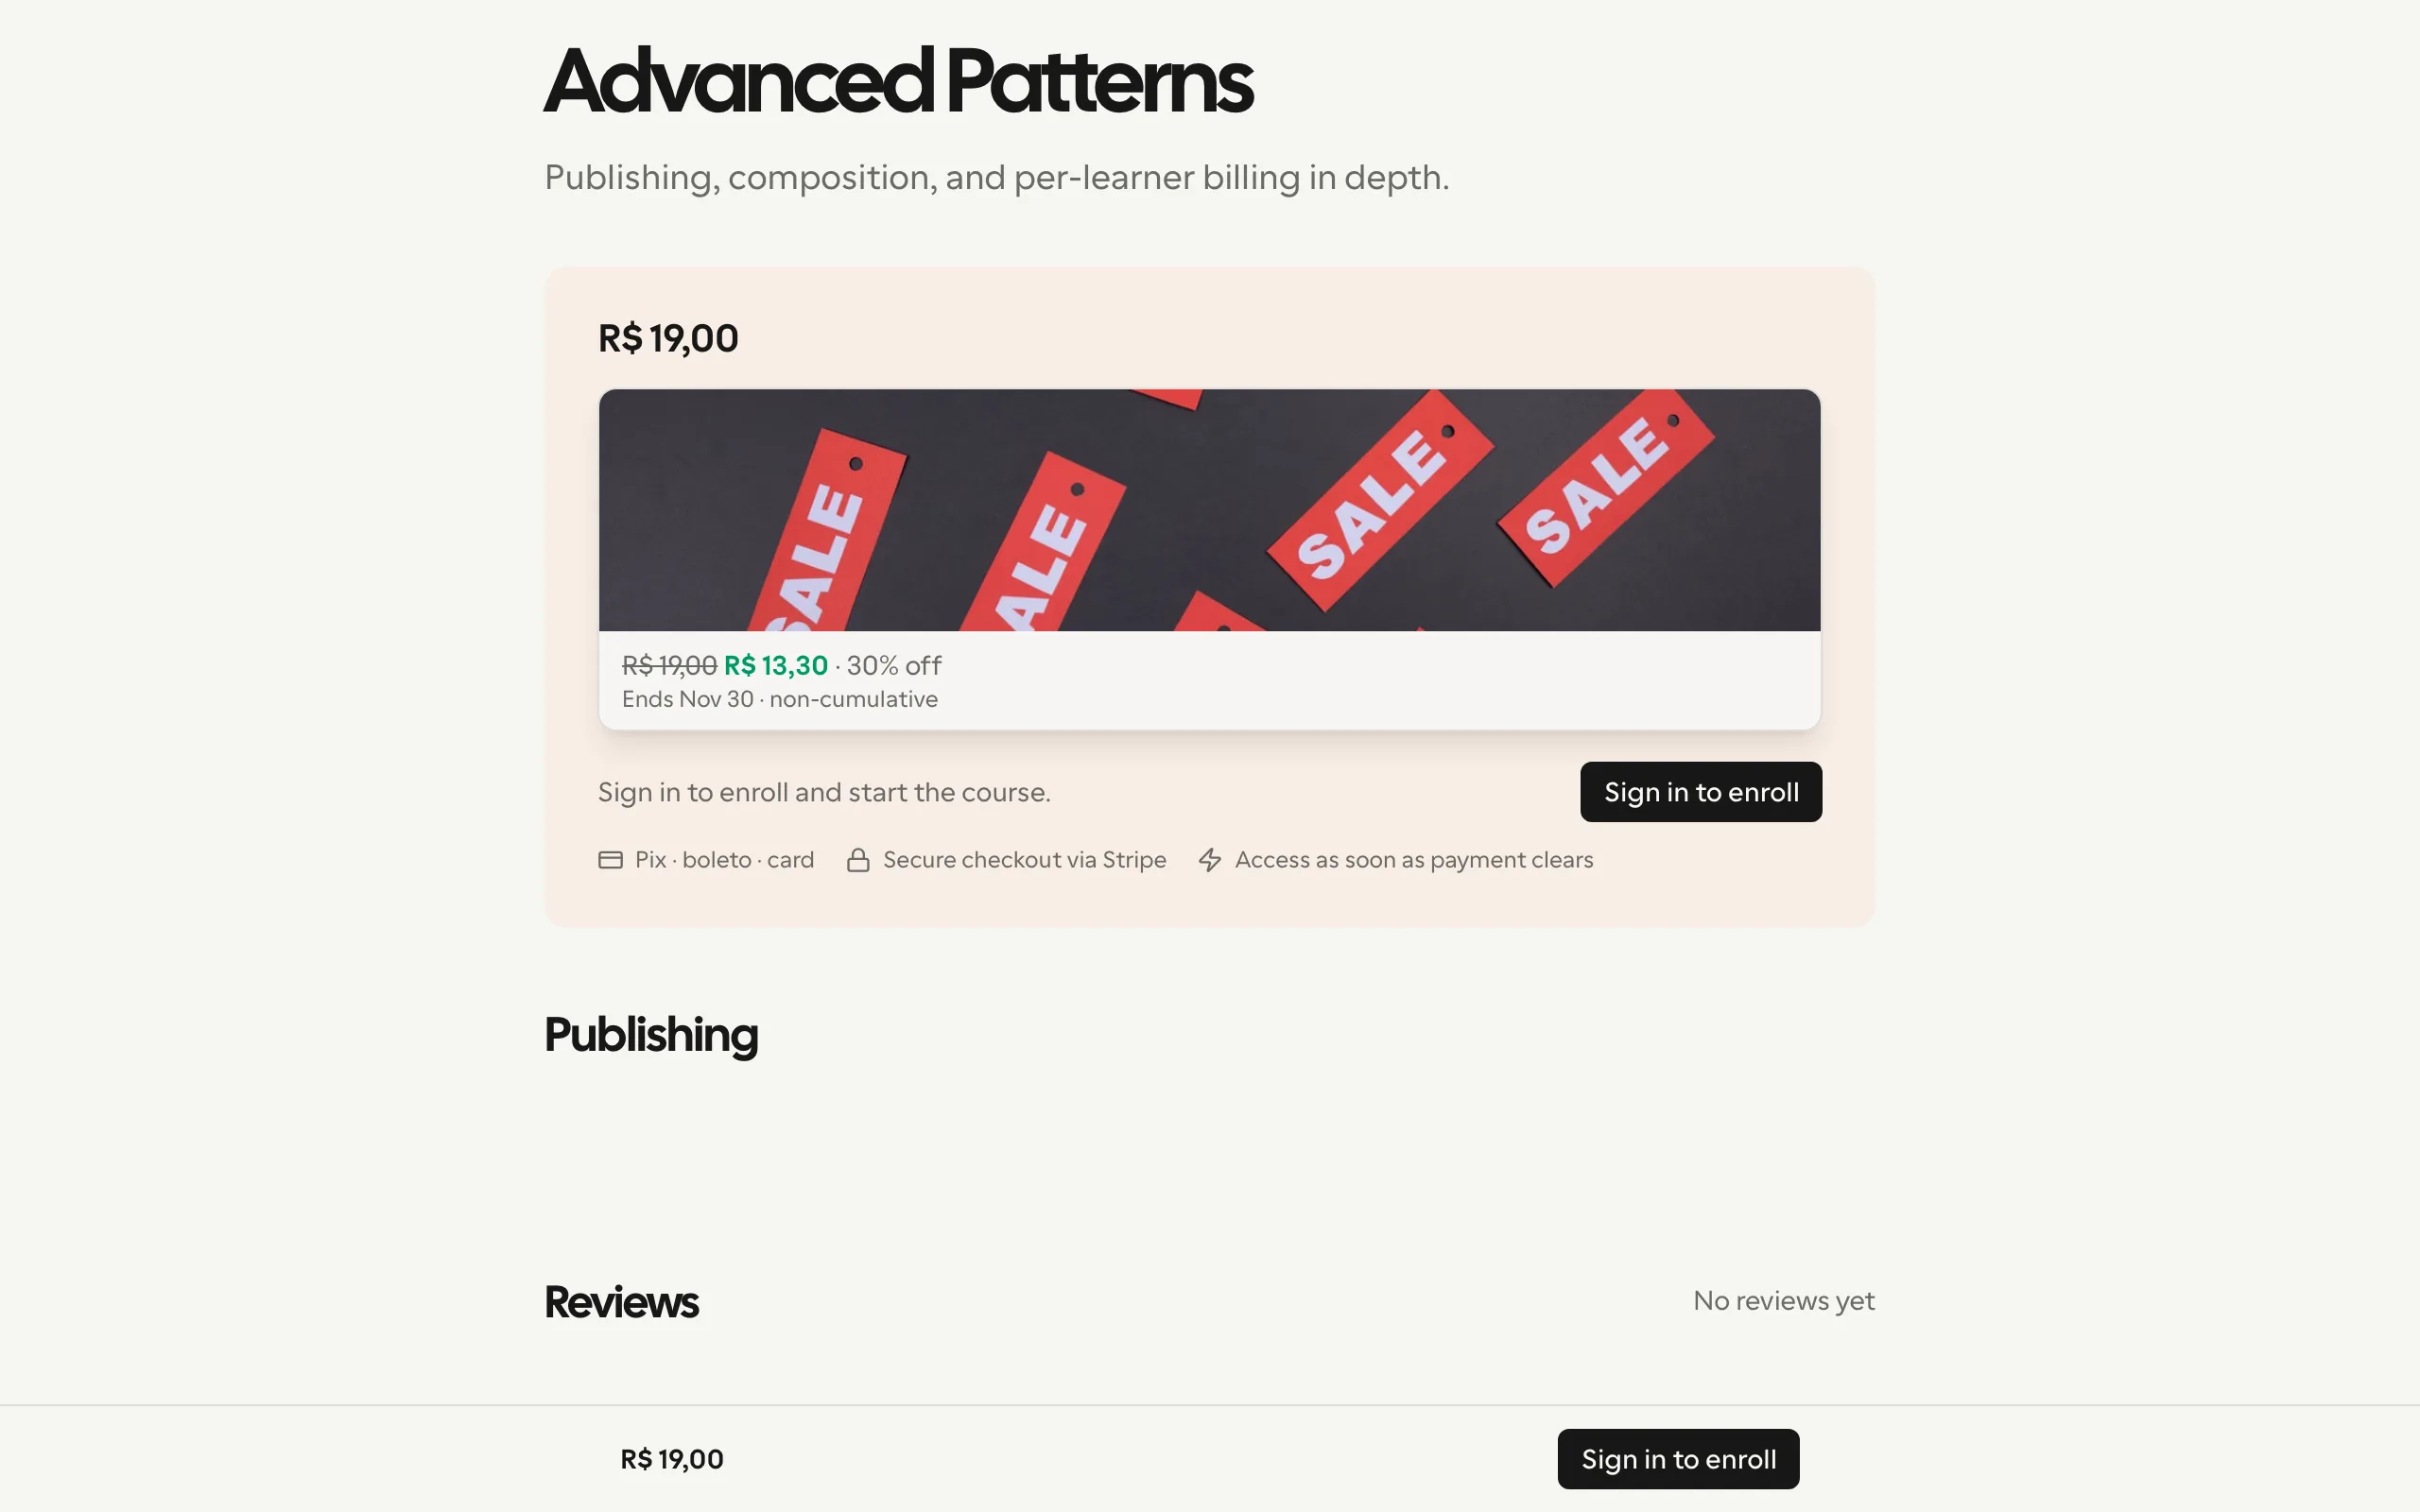
After publishing, the course's page at its canonical public URL — the organization's slug plus the course's handle — is live: the sales page for a priced course, the reading entrance for a free one. From there you can:
- share the public link directly with learners;
- keep a priced course listed so that it appears in the catalog (remember: only priced courses can be listed — free courses are reachable by direct link only);
- embed the course in another site using the embed options.
Materials never get a public page: they are read inside the courses that reference them, and stay out of the catalog by nature.
Rules worth remembering
| Situation | Behavior |
|---|---|
| Editing the draft | The learner sees nothing until the next publish |
| Creating a course | Also creates its default "Standard" offer — free and unlisted unless you set a price |
Setting a price of 0 or empty | The course becomes free |
| Listing a free course | Not possible — the Listed toggle needs a price; free courses stay link-only |
| Changing the currency after sales | Blocked — the currency is locked |
| Archiving a course's last active offer | Blocked — a course always keeps one active offer |
| Deleting a content referenced by another | Blocked — remove the references first |
| Deleting a course that has already been purchased | Blocked — unlist instead of deleting |
| Duplicating a content | Creates a new draft with the same packaging (kind, tags, theme, pricing, seats), without publication, learners, reviews, or sales |